
How to Check if a PDF is Accessible Using PREP
Step 1: Quick Preview for Initial Checks
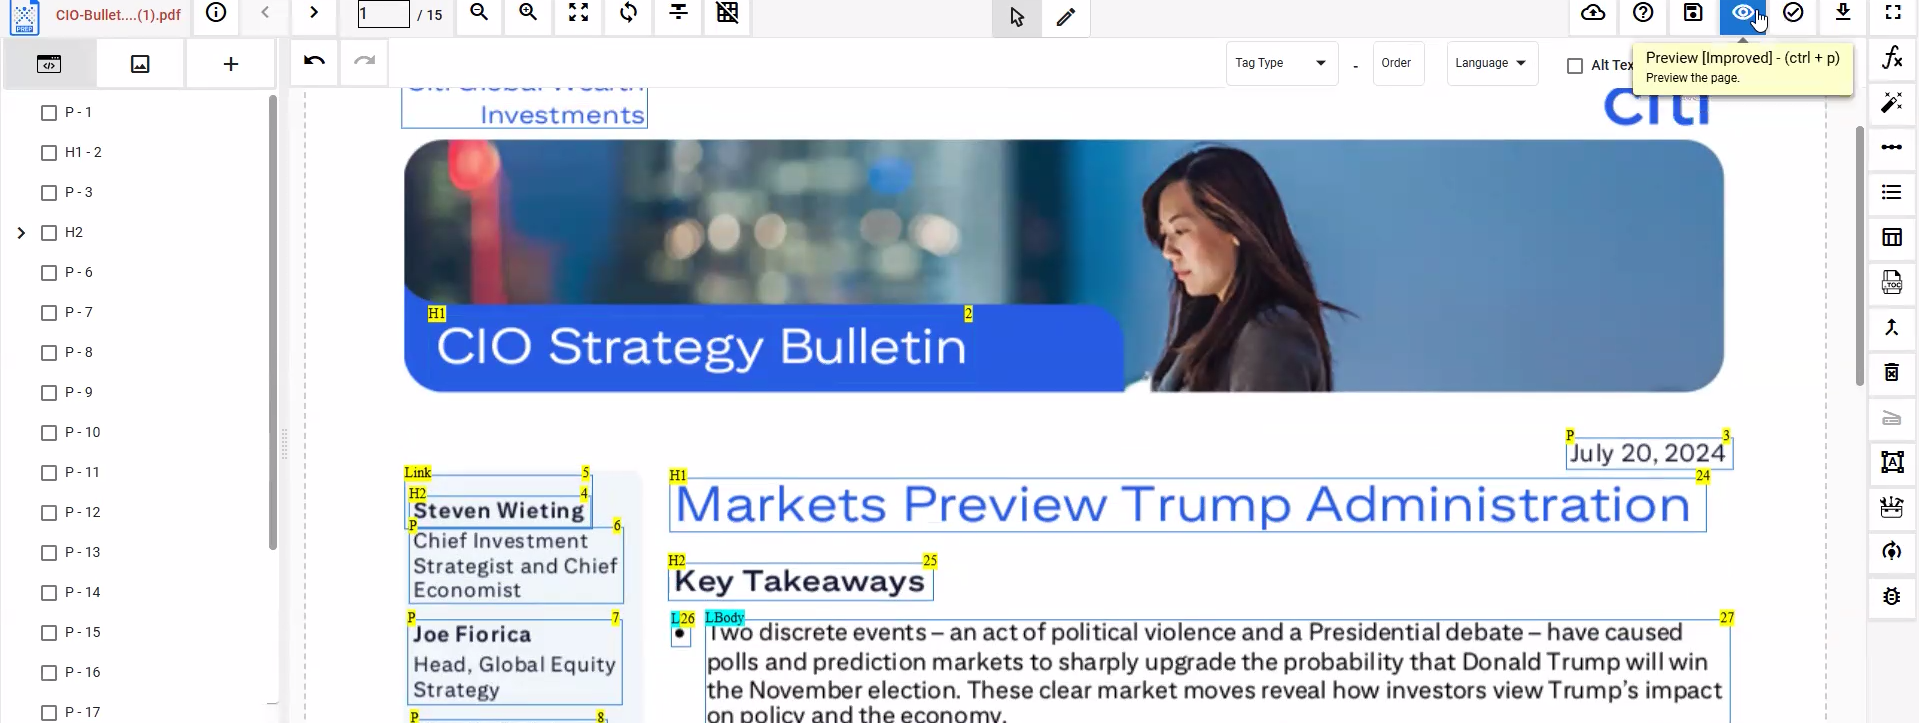
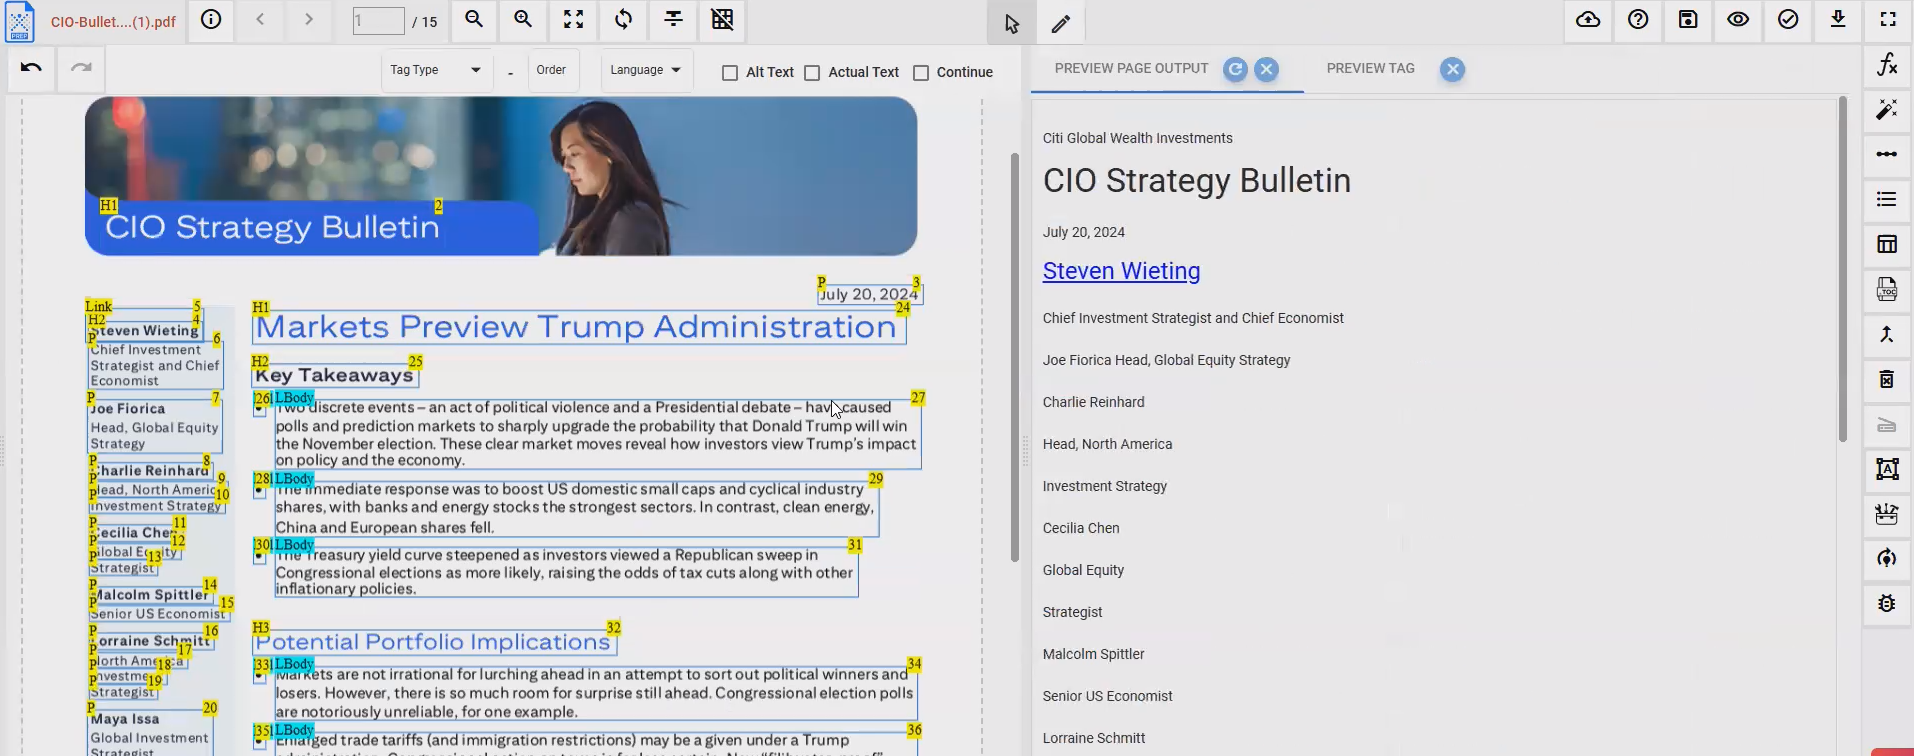
Once you’ve made changes to your PDF in PREP, the first thing to do is use the quick preview feature. This gives you a visual overview of your document. It’s a simple way to spot if the basic accessibility improvements have been applied correctly and if the document is looking better in terms of accessibility.
Step 2: Run a Detailed Compliance Check
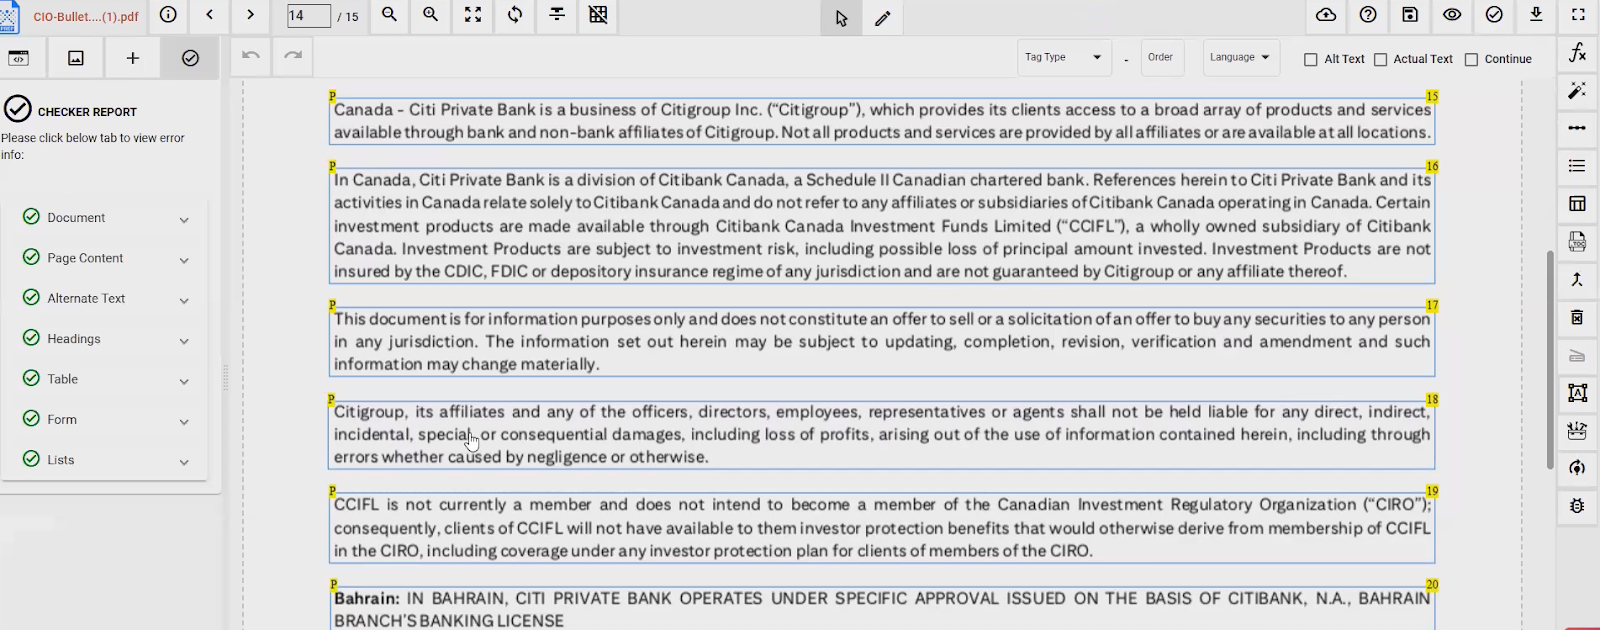
Next, to ensure the PDF complies with accessibility standards, you’ll want to run the compliance checker. To do this, click on the checker report icon (a small tick mark located at the top-right corner of the screen). This tool provides a detailed report, flagging any issues that could affect the document’s accessibility.
Step 3: Verify Against Accessibility Standards
Once the report is generated, it will tell you whether your PDF meets various accessibility standards. PREP checks the document against the following guidelines:
- Section 508: Ensures that electronic and information technology is accessible to people with disabilities.
- PDF/UA: A standard for making PDFs accessible, ensuring the document can be read by assistive technologies like screen readers.
- WCAG 2.2 (Level AA): A set of web content accessibility guidelines that help ensure digital content is accessible to a wide range of users, including those with disabilities.
The report will show you whether the document complies with these standards, helping you make sure the PDF is accessible.
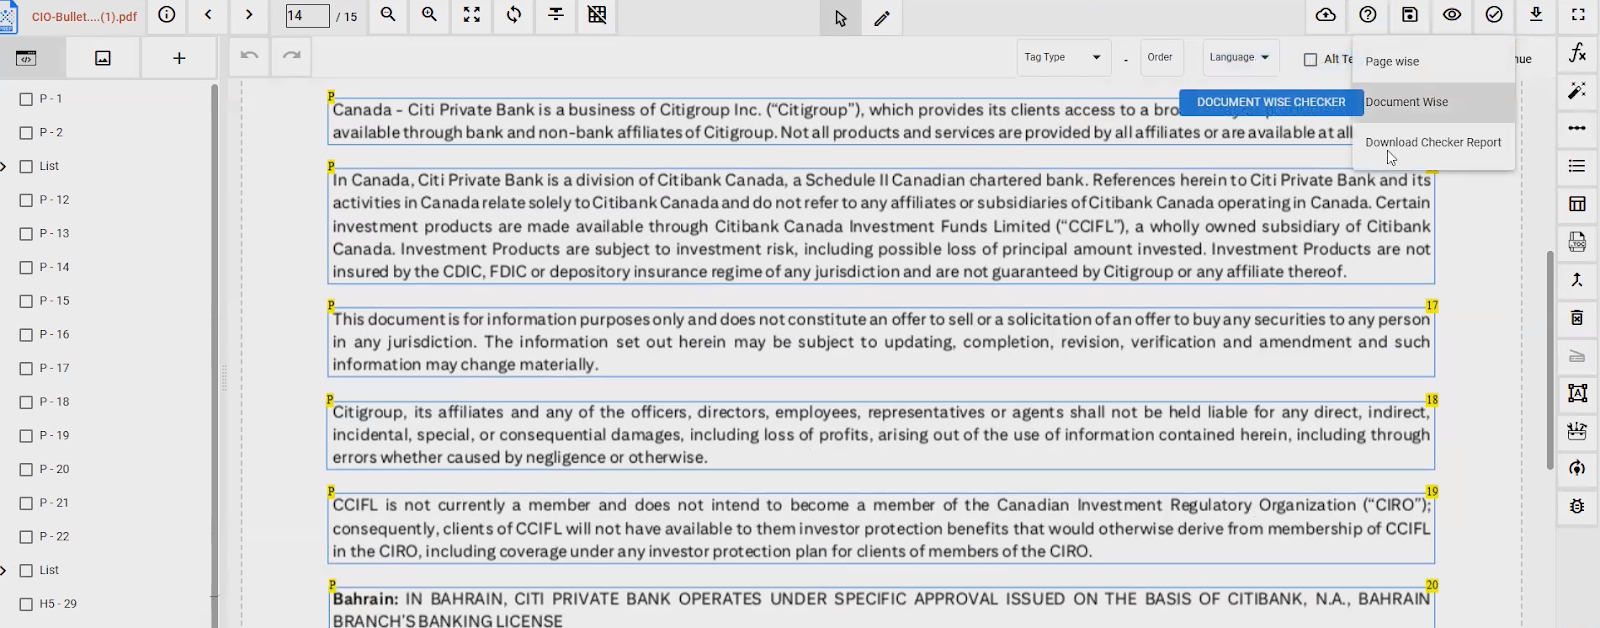
Step 4: Check Compliance on a Page-by-Page Basis
The checker report gives you a page-by-page breakdown of the document’s accessibility. It also includes a document-wide compliance check to make sure that every part of the document follows the proper guidelines. This makes it easier to identify if specific pages or sections need more attention.
Step 5: Download the Full Report for a Detailed Review
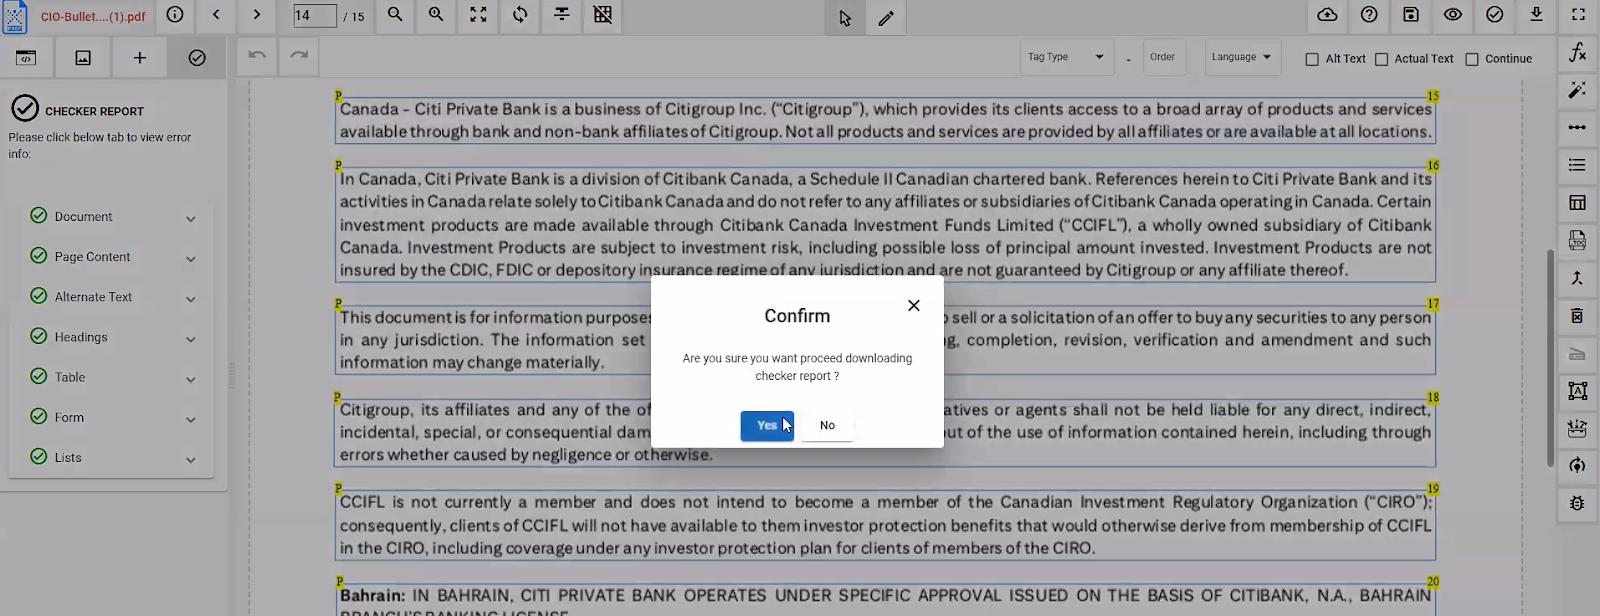
Once the checker report is ready, you can download it for a more thorough look. Having a downloadable version of the report gives you the opportunity to review the findings in detail and share them if needed. It’s a helpful way to keep track of your progress as you work through any issues and make sure the PDF meets accessibility standards.
Step 6: Check if the Text is Selectable
A key part of PDF accessibility is ensuring that the text can be selected. This is especially important for users with screen readers. If the text isn’t selectable, it likely means the PDF hasn’t been properly tagged. You can verify this by simply trying to select the text. If it isn’t working, you’ll need to fix the tagging issues in PREP.
Step 7: Review the Tag Tree for Structure and Accuracy
The Tag Tree in PREP shows how the document is structured. By reviewing it, you can make sure that everything is properly tagged and in the right order. This step is essential for people using screen readers, as a well-structured tag tree makes the content easier to navigate. If any tags are missing or out of place, this is where you’ll find them.
Step 8: Identify and Fix Any Remaining Errors
Even after remediation, there may still be small errors or issues in the document. Use the PREP tool to identify any lingering problems that could affect the accessibility of the PDF. These errors will be highlighted in the checker report, so you can go back and fix them before finalizing the document.
By following these steps in PREP, you can confidently ensure that your PDF is accessible to all users. PREP makes it easy to check your document, fix issues, and verify that everything complies with accessibility standards.
Closing Thoughts
If you want to ensure your PDFs are accessible to everyone, using PREP’s PDF Accessibility Software is a smart choice. With its built-in PDF Accessibility Checker, you can easily assess whether your PDFs meet accessibility standards and make the necessary improvements. For more information, check out the PREP PDF Remediation Software.
